In The Studio:

Making Shavings

20160512_195239.jpg

I went to school to learn design and then apprenticed as a pattern maker which is how I learned woodworking.  I knew more than just a bit of basic wood working before my apprenticeship but as a patternmaker I learned a different way of working and thinking.  I mention all this because a lot of how I am making this is using what I learned as a patternmaker, down to the tool of choice for carving.

The basic dimensions of this carved table leg are 30" x 28" x 4"  and I suppose many would glue up a big chunk that size, draw a few lines and start carving.  This leg is a simple form where the profile of the top is a stylized boat shape, mostly parallel and pointed at the ends. At the bottom the leg is 2" thick and is a simple wave shaped line, and the form is just a series of straight lines connecting those two shapes, (for reference see the photo of the model a few posts down). 

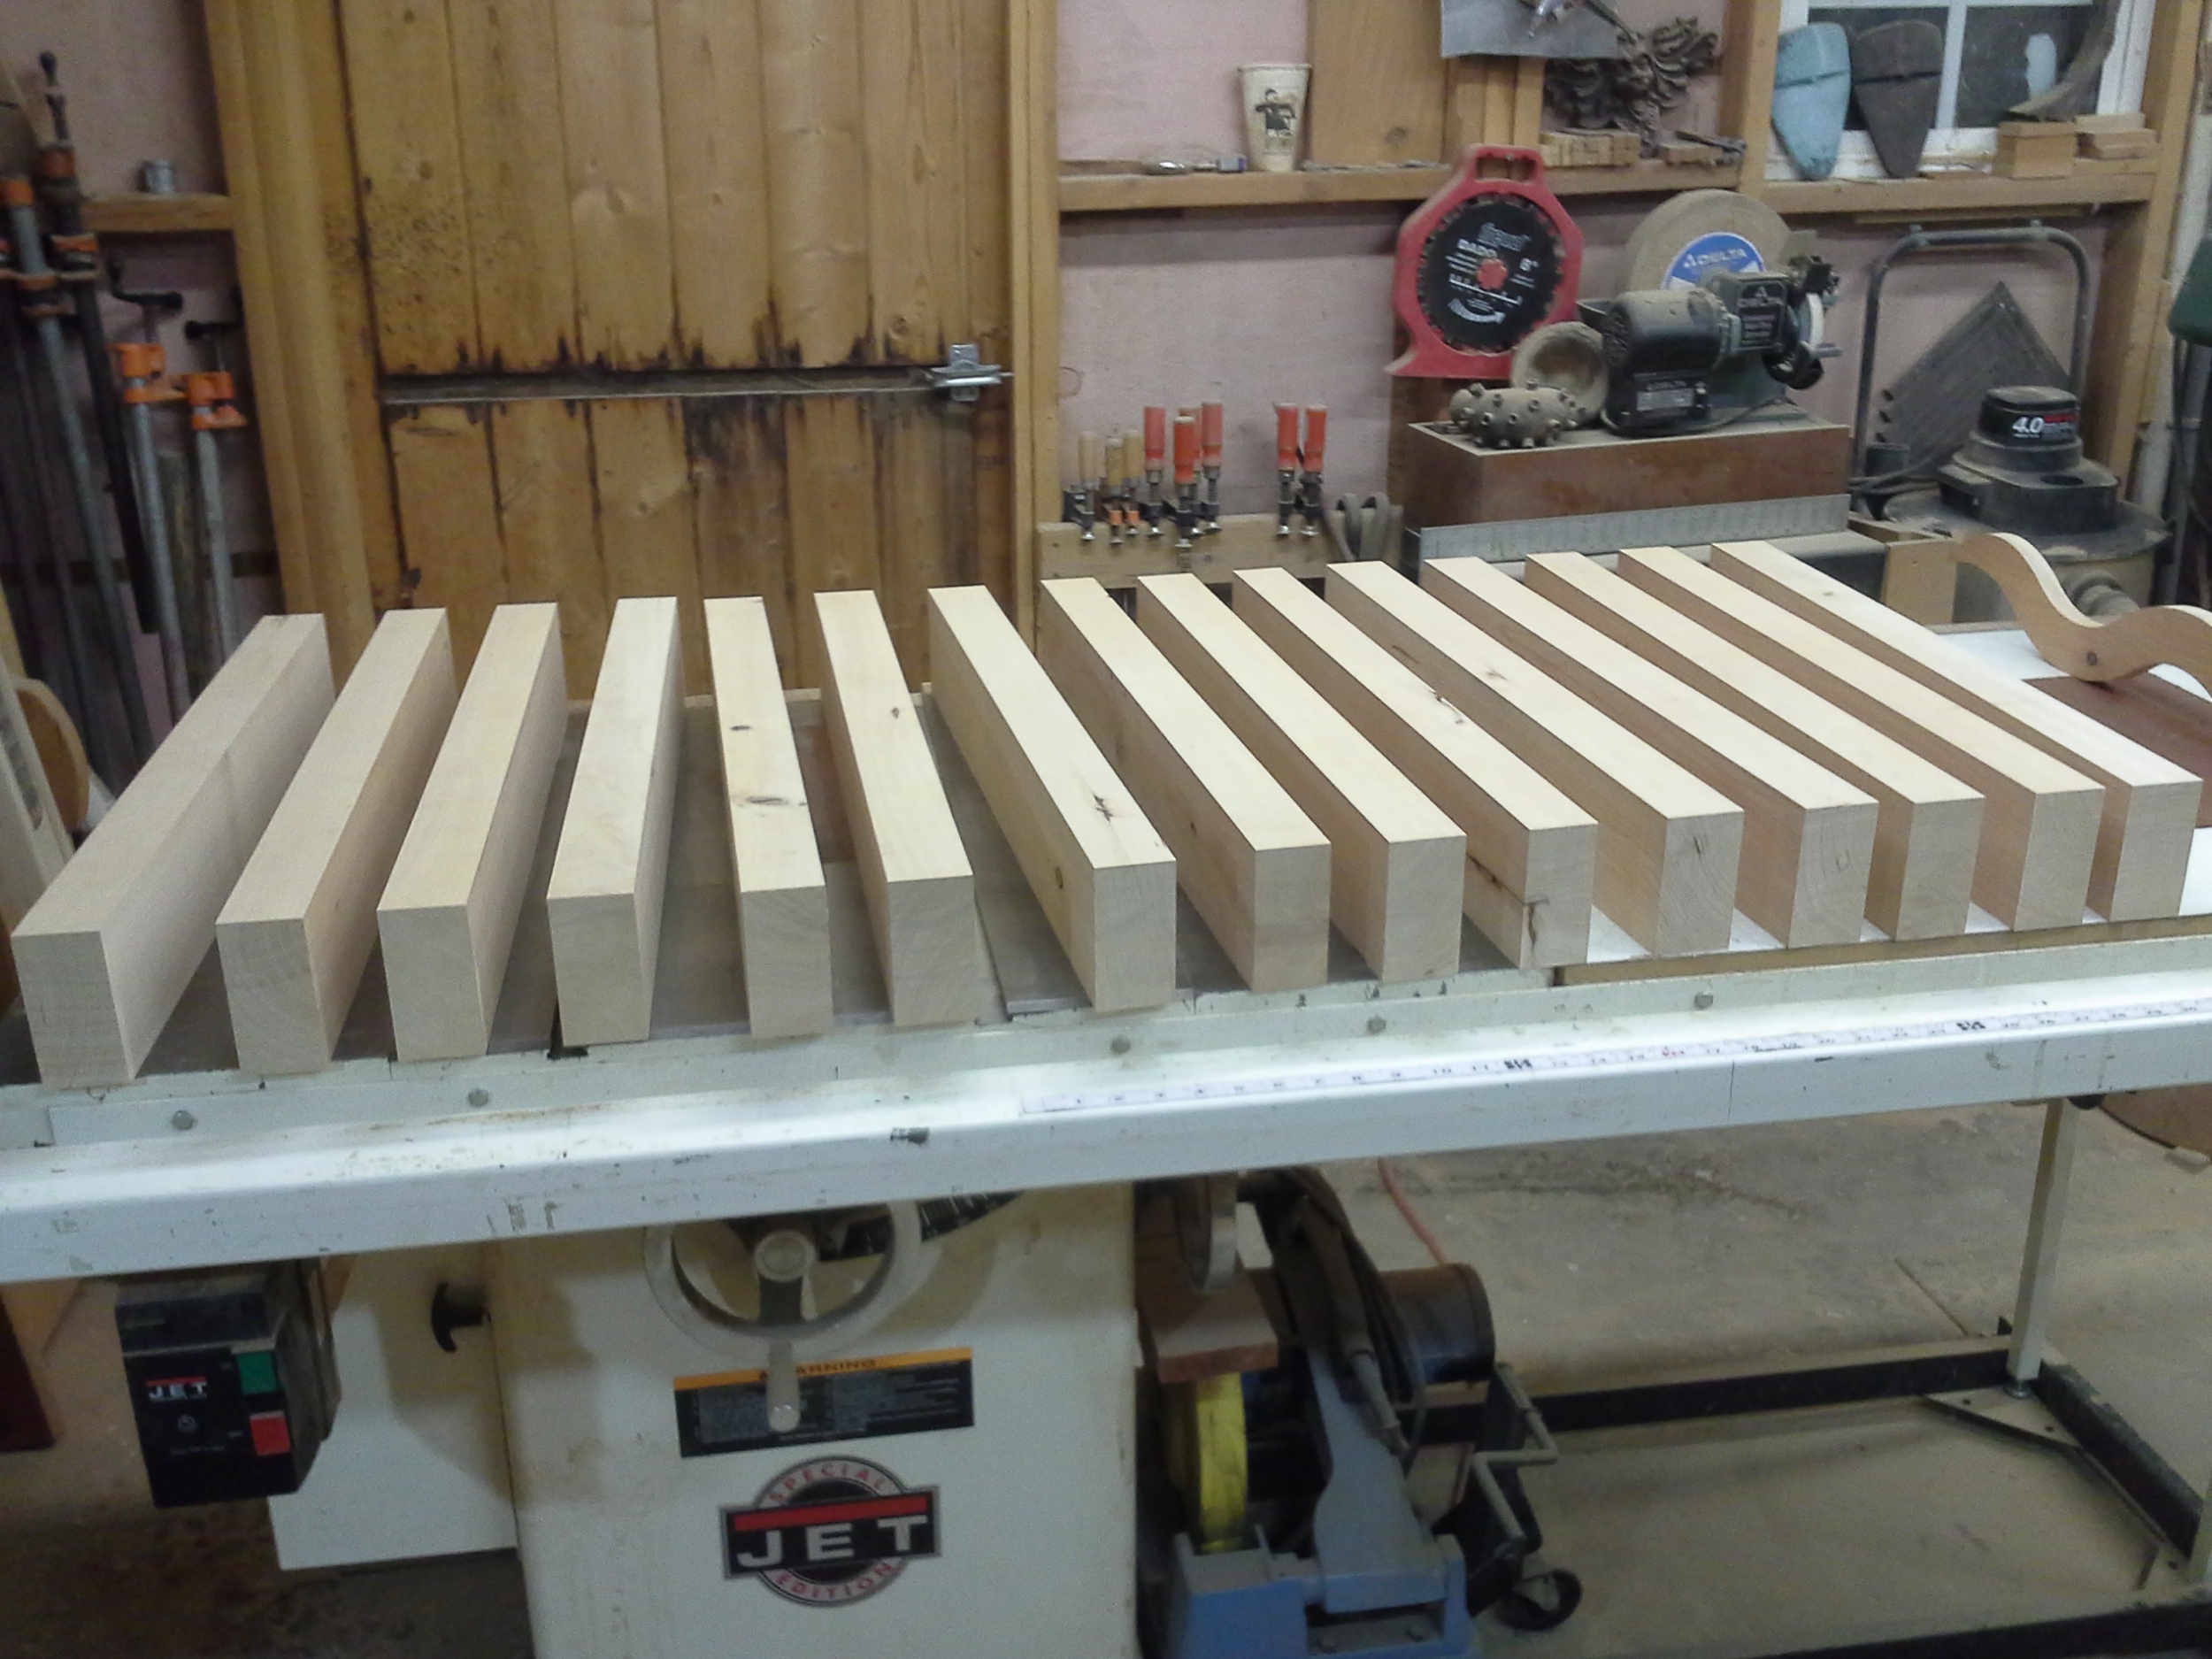
The way I approached this is very similar to how a patternmaker would make a pattern for a boat propeller. I cut out a bunch of 2" x 4" x 28" pieces but before gluing them up I clamped all the pieces together and drew the profile on the top and on the bottom then I unclamped them and used a straight edge to connect those lines on the face of each board, front and back.  Because the angle between the lines on the front and back changes over the entire 28" I could only cut to the line that allowed the one on the other side to remain and cut it at 90 *.  But before cutting I clamped each board with its neighbor and drilled two holes for  locating dowels.  This was a very important step as once each board was cut on both long edges there would be no reference for orienting the boards during glue up.

I'm sure this all sounds nearly overwhelming and a complicated mess, but it goes fast and the time spent is several times less than the amount of time that is saved in carving. plus each line I cut becomes a guide line for carving because it is a straight line between the top profile and the bottom profile. So all I need to do is carve between the lines keeping in mind if I am carving to a concave or convex surface

Because I Can

One of the things about using a wide slab in a piece of furniture is that you have to acknowledge that it is going to move as the seasons change. It would be nice it it stayed flat but unless it is 100% quarter sawn that isn't likely, and that isn't usually the most striking figure. For a 36" wide table made out of solid walnut , known as being a very stable wood, the top can change up to 1/2" because of  seasonal changes in moisture. If any of that movement is in the slightest form of a cup or a twist then the legs will no longer be even and you will end up with what I call restaurant table syndrome, thunk Thunk.. thunk Thunk.  The easiest way to plan for this is to incorporate some type of leg leveler, or glide.  I buy high quality glides by the half gross and get a good price on them and they perform their job beautifully. The problem is they are ugly, butt ugly to be precise.

Not only are the pads I buy unattractive they mount via a 1/4" threaded rod that screws into what ever the purchaser sees fit to provide. I'm sure there are makers that see fit to drill a hole in the bottom of a leg and knock a "T" nut into it and call it good. And it probably would be us the piece of furniture was never moved or the glide was never adjusted. A better approach, and the one that most custom makers use is to install a threaded metal insert into the bottom of the leg. My problem with this is is still leaves that ugly glide sitting there in plain view as if it was part of my design.  My approach has always been to recess then into the leg or case so that only a fraction of the nylon pad protrudes, effectively making them disappear. On this application I felt that if I simply bored a hole for the glide to be recessed  into that the edges might be prone to failure. My solution was to turn an aluminum insert with the required recess for the glide as well as the treads to mount it and some grooves on the outside wall so it could be epoxied into the bottom of the leg before I started making it thinner by carving. 

Just one little detail that won't even be seen but it is very important to the function and look I want and fortunately I have the skills and tools so I don't have to limit myself to what I can buy at the hardware store.

The Work Before Work Can begin

When I begin a project things might look a bit different than your typical wood shop.  You see I haven't purchased lumber at a regular lumber yard since 1994. That was the year I started milling my own lumber from urban trees.  For this project I pulled out these four beautiful 2 1/4" thick slabs of monterey cypress, averaging 20" wide and six feet long. I will need about sixteen 4" x 28" pieces, preferably free of knots and with straight grain.  Barring the free of knots criteria, any knots will need to be fully contained and the only place to do that in this project will be near one end of the boards.  The desire for knot free boards is because I will be gluing these boards into a 30" x 28" x 4" leg which will be carved.  Knots can can chip a chisel edge and the grain near a knot can be rowey, a term meaning unpredictable grain direction, and it can make the wood  very difficult to carve without getting tear outs and splits.

I'm sure some will flinch at the idea of cutting such magnificent slabs of wood into such small piece,s but when all your wood comes into the shop in this form and if you build things that need smaller pieces that's what has to be done.  As luck would have it I was able to get the pieces I needed out of three of the four slabs leaving one to possibly become the seat of a blanket chest.  Those of you that are quick with numbers will have already figured out that I used about 67 board feet worth of rough slabs to net the 23 board feet I needed.   


There is an old axiom in milling lumber that says that half the tree stays in the forest and half goes to the mill. Half of a log sent to a mill  is sold as lumber and half is made into scrap. Half of a board sold as lumber is made into furniture and half is made into scrap.  In case you aren't good with fractions that works out to 1/4 of a log being made into furniture.  I convert more of a log into slabs than a lumber mill but on the other end I generate more scrap when using those slabs to build furniture. In the end try as I might to do better than that old axiom I average about 1/4 of a log being made into furniture

Sculpture with a Table Top

I usually prefer to design by building scale models. Well actually I prefer to just build furniture with no model or drawing but clients usually balk at handing over a pile of money on the promise of me having a "really cool idea".  So I have adapted by channeling "really cool ideas" into creating scale models.

I have taken five semesters of college level drawing courses along with learning how to use Autocad and knowing how to draft using pencil on velum.  I encourage my sculpture students to take as many drawing electives as they can because being able to communicate an idea or the understanding of an idea with a napkin sketch with a client or a superior can often mean the difference in getting a project or not getting it. So why do I prefer to work by creating scale models?  Well, many of my designs incorporate curves and can be difficult to really see in a drawing, but the biggest reason is also the biggest differences between two dimensional design and three dimensional design- Light is actually part of the design in 3-D.  By building models  I can communicate to a client how a curved edge will cast a shadow on a curved surface and how that changes as the light changes during the day or as you walk around the object. This is just something that doesn't communicate clearly with a drawing.


The model pictured is 1:96 scale, or 1/8 " =1".  The top will be a slab of claro walnut (juglans hindsii) I milled about 7 or 8 years ago. it is 36" wide and will be cut down to about 6 feet in length. the curved leg will be carved out of some monterey cypresss (cupressus macrocarpa) that will be a laminated and carved by hand. the wedge shaped leg will be welded steel with a dark patina and the stretcher will be a combination of metal and wood yet to be decided.


The day to day function of this piece will be primarily as a desk but it will also need to occasionally need to serve as meeting table in an architectural firm.